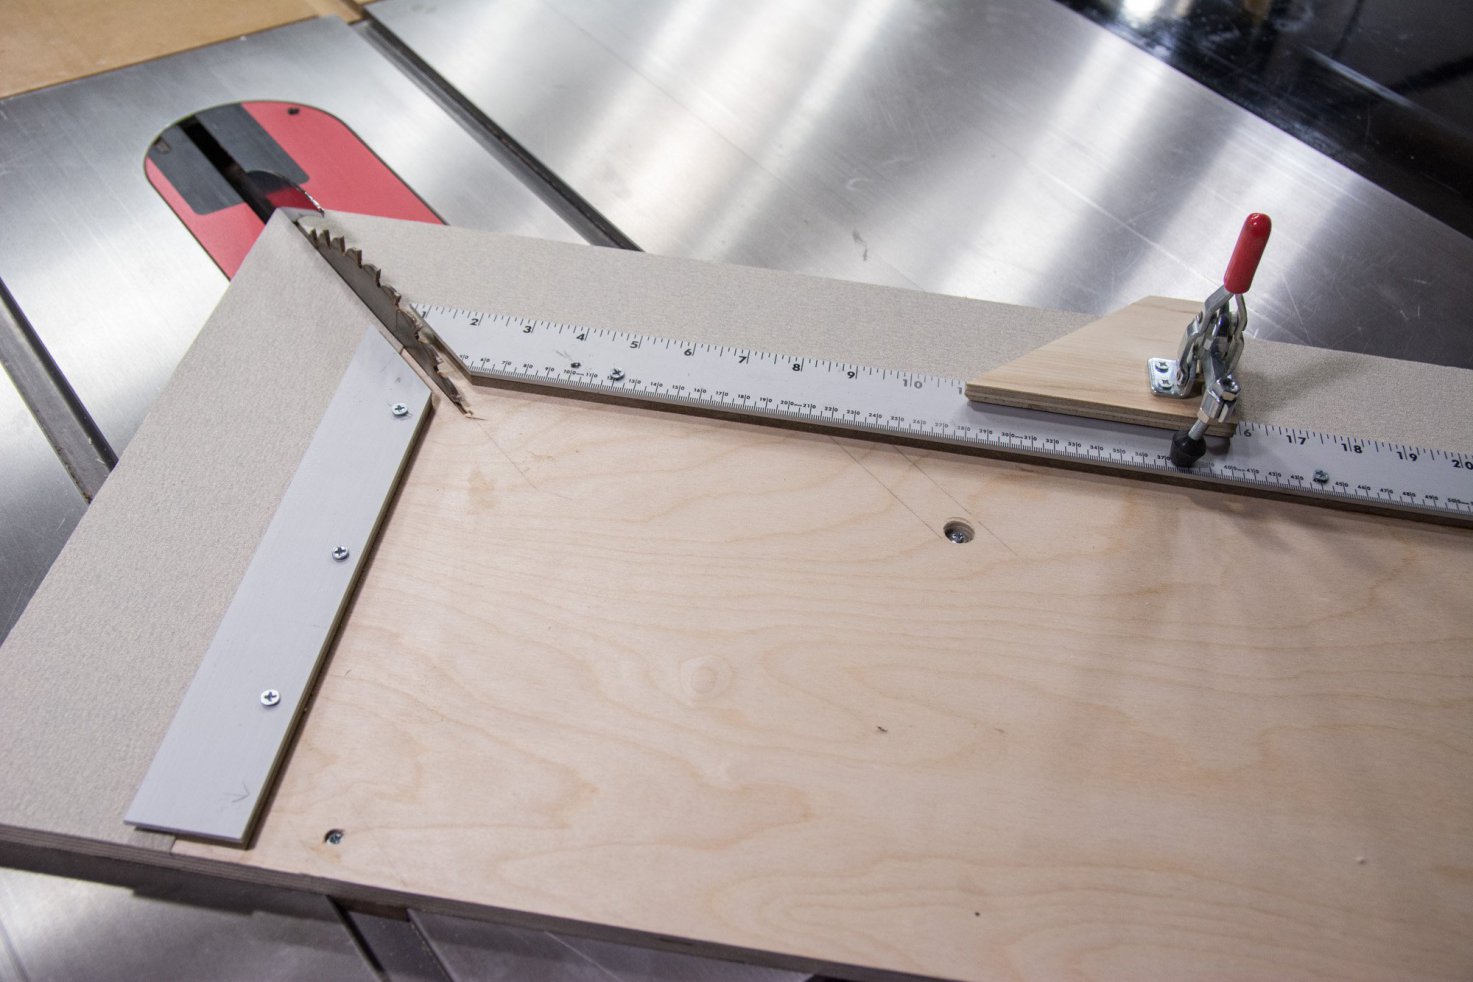
Making The Ultimate Picture Frame Sled
Here’s What You’ll Need
This is the first video in a multi-part series on picture frame making. This video gives you an overview on how to make the ultimate picture frame sled. In order to make perfect picture frames you need two things… One, the two corner pieces must add up to 90° and the short sides as well as the long sides must be the exact same length. This sled covers both of those issues as well as it allows for larger picture frames than a traditional miter sled stop system. Picture frames are not measured by the inside or outside length but by the rabbit so if your artwork or matte is 5×7 we can set the stop to create a frame for that exact size. To make sure there is no play in our sled we’re using the MicroJig Zero Play Guide bar system that adjusts to fit any table saw. Also, I must give credit to where credit is due. This is a modified and updated sled to one published by Fine Woodworking.


